How to Order Custom Products for Your Business Step by Step (Without Costly Mistakes)
Ordering custom products sounds simple at first. You pick a product, add your logo, and place an order.
But in reality, there are many small decisions that can affect your final result—materials, sizing, printing methods, packaging, and timing.
This guide walks you through each step so you can avoid common mistakes and get results that actually match your expectations.
Step 1: Define What You Actually Need
Before reaching out to any supplier, take a moment to clearly define your product.
Ask yourself:
- What is the purpose of this product?
- Who will use it?
- Is it for resale, promotion, or internal use?
- What is your budget per unit?
The clearer your idea is at this stage, the smoother everything else becomes.
Step 2: Choose the Right Product Type
Not every product works well for customization. Some materials print better, last longer, and look more professional.
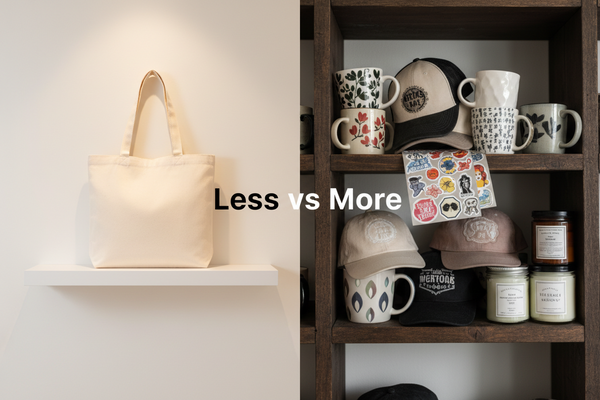
For example, if you're creating branded merchandise, simple items like tote bags, drinkware, or basic apparel are often easier to start with.
Step 3: Understand MOQ and Pricing
MOQ (Minimum Order Quantity) is one of the most important factors in custom orders.
Key points:
- Lower MOQ usually means higher unit price
- Higher quantities reduce cost per unit
- Customization options may increase MOQ
Always balance your budget with your expected sales or usage.

Step 4: Prepare Your Design Files
Your design plays a huge role in the final result.
Clean, simple designs usually work better than overly complex ones—especially for your first order.
- Use high-resolution files
- Confirm color codes
- Check logo placement carefully
Step 5: Request Samples First
This is where many buyers make mistakes.
Skipping samples might save time upfront, but it often leads to bigger problems later.
What to check in a sample:
- Material quality
- Print clarity
- Color accuracy
- Size and fit
Step 6: Confirm Production Details
Before moving into production, double-check everything.
- Final design approval
- Product specifications
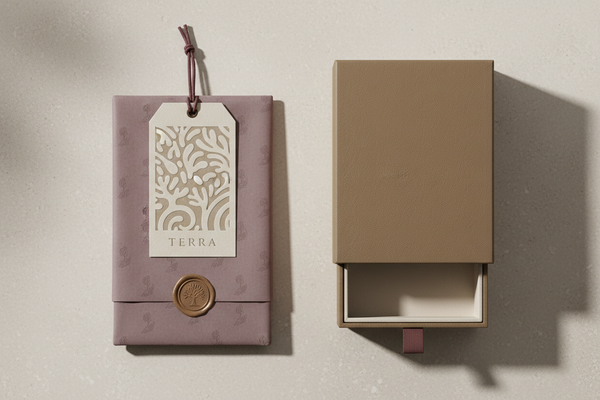
- Packaging details
- Timeline and delivery expectations
Clear communication here prevents most issues later.
Step 7: Monitor Production Progress
Once production starts, stay involved.
Ask for updates and photos during key stages. This gives you a chance to catch issues early.
Step 8: Plan Shipping and Delivery
Shipping can take longer than expected, especially during busy seasons.
Plan ahead for:
- Transit time
- Custom clearance
- Unexpected delays
Always build a time buffer into your schedule.
Step 9: Inspect Before Final Use
When your products arrive, take time to inspect them.
Check for consistency, quality, and any defects before distributing or selling.
Final Thoughts
Ordering custom products doesn’t have to be complicated.
Once you understand the process and take it step by step, it becomes much easier to manage.
Start simple, learn from each order, and gradually improve your approach.
Over time, you’ll build a system that works smoothly—and delivers results you can rely on.