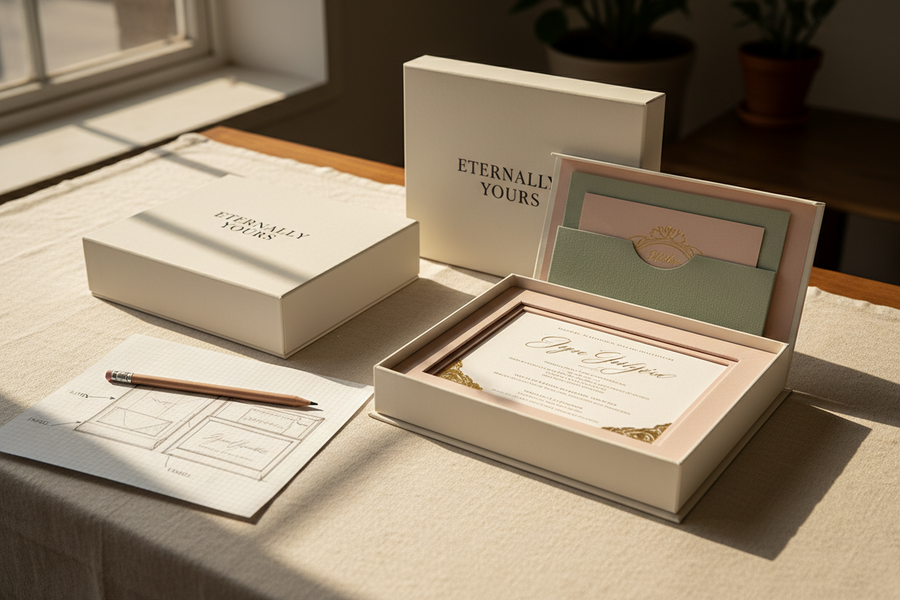
How to Create a Stronger First Impression With Custom Packaging?
The assumption that luxury packaging requires an expensive, multi-piece rigid box collapses as soon as you calculate carrier dimensional weight penalties at scale. When designing custom packaging for an e-commerce catalog, buying teams often find themselves stuck between two extreme options: a plain stock brown mailer that feels forgettable, or an elaborate $4.50 rigid setup box [IE] that eats up 20% of product margin and doubles outbound freight costs.
A great first impression is not about spending more money on heavy rigid board. It is an exercise in structural alignment, substrate selection, and decoration efficiency. By examining a real-world sourcing walkthrough, we can see how re-engineering a custom packaging specification transformed a product launch from a fulfillment bottleneck into a profitable brand asset.
The Sourcing Mandate: Engineering an Executive Gift Bundle
Consider a practical sourcing scenario: a private label brand was preparing to launch a flagship executive desk bundle. The product set consisted of a hardcover leatherette notebook, a weighted brass pen, and a two-piece desk accessory set [IE]. Total retail price was targeted at $85.00 [IE], with a strict unit COGS (Cost of Goods Sold) cap of $22.00 [IE].
The original packaging concept called for a two-piece rigid setup box with a custom EVA foam insert. When the initial vendor quotes came back, the unit economics were completely unworkable:
- Rigid Box Unit Cost: $4.25 per box at a 1,500-unit Minimum Order Quantity (MOQ) [IE].
- EVA Foam Insert Tooling: $450 one-time mold fee [IE] + $1.80 per foam tray [IE].
- Freight Penalty: Because rigid boxes ship fully formed, ocean freight from overseas required three full pallet positions, adding $1.10 in inbound freight per unit [IE].
At a total landed packaging cost of $7.15 per unit [IE], the packaging alone represented over 32% of the entire product manufacturing budget [IE]. The brand needed to pivot to a collapsible, high-impact structural solution that kept landed packaging costs under $2.50 per unit [IE] while maintaining an executive unboxing experience.
Evaluating Substrate Grades: E-Flute vs. B-Flute Corrugated
To eliminate inbound freight penalties, the buying team switched the primary container format to a flat-shipping Roll-End Tuck-Top (RETT) corrugated mailer. The next critical decision was selecting the correct board flute grade.
What actually determines whether a box arrives looking crisp or crushed comes down to selecting the board flute profile based on product weight rather than visual preference alone. Designers often default to E-flute corrugated (1.5mm thickness) [IR] because its thin profile provides a smooth, flat printing surface that displays fine text and crisp graphics beautifully.
However, the total weight of the executive desk bundle was 680 grams [IE]. During initial drop testing, prototype E-flute boxes suffered corner crushing under Edge Crush Testing (TAPPI T 811 standards) [DS]. The team switched the specification to B-flute corrugated (3.0mm thickness) [IR] with a 32-ECT structural rating [IR].
B-flute provided significantly higher stacking strength and impact absorption under ASTM D642 box crush protocols [DS]. To maintain a clean, premium surface finish despite the thicker flute profile, the team specified a 300 GSM bleached white outer linerboard [IR], ensuring crisp print registration without compromising transit protection.
Decoration Efficiency: Single-Pass Interior Reveal vs. Full-Bleed Exterior
With the structural board grade locked in, the team evaluated decoration options. Full-bleed process printing across every panel of a box requires multi-pass offset or flexographic runs, extending dryer lead times and driving up unit costs.
Furthermore, full-bleed dark printing on box exteriors presents a real operational risk: during parcel transit, automated conveyor belts and sorting rollers scuff unvarnished ink, leaving dark marks on the box before it reaches the customer's doorstep.
Instead of printing the exterior, the team selected a minimalist, high-contrast decoration strategy:
- Exterior Surface: Clean, natural kraft brown exterior with a single-color flexographic black logo on the top lid. Simple, scuff-resistant, and understated.
- Interior Reveal Surface: The inner lid was printed with a rich, single-pass forest green flood coat featuring a crisp white reversed-out welcome message.
It usually becomes obvious only after the second reorder that the first vendor was cutting a corner nobody flagged. By moving the primary brand color to the interior lid, the box protected the vibrant artwork from transit scuffs while creating an immediate, dramatic contrast the moment the lid tuck tabs were opened.
The Complication: Insert Buckling and Assembly Bottlenecks
While the outer box structure and printing looked exceptional, a major operational complication emerged during pre-production sample assembly at the fulfillment warehouse.
The interior die-cut kraft insert was designed to hold the weighted brass pen and hardcover notebook in fixed display positions. The graphic designer had used zero-tolerance CAD die-lines based on exact product measurements, assuming paperboard folds would hold perfectly sharp 90-degree angles.
When warehouse operators attempted to pack the items, the zero-clearance cavities caused the 300 GSM paperboard insert [IR] to buckle. The bowed insert pushed against the side walls, preventing the outer box tuck tabs from locking smoothly into place. Assembly time jumped to 42 seconds per box [IE], creating a severe bottleneck on the packing line.
The Resolution: The 5mm Clearance Rule and Tape-Free Lock Tabs
To resolve the assembly bottleneck, the procurement lead enforced the 5mm Clearance Rule across all CAD die-lines [IR].
The 5mm Clearance Rule: Always add a minimum 5mm margin to internal box dimensions and insert cavities when using folded paperboard or corrugated dividers [IR]. Paperboard has a natural fold radius and material thickness that absorbs internal space. A 5mm buffer compensates for structural variance and allows items to seat cleanly without warping the insert.
The packaging engineer revised the CAD die-line, widening the main cavity by 5mm [IE] and adding smooth thumb notches to the brass pen slot. The team also incorporated self-locking tape-free tuck tabs into the mailer side panels.
The results of the structural revision transformed the pack-line performance:
- Pack-Line Assembly Speed: Assembly time dropped from 42 seconds down to 11 seconds per box [IE].
- Structural Integrity: The 5mm clearance margin [IR] eliminated insert bowing, allowing the box score line crease precision to lock square every single time.
- Landed Unit Cost: Final landed cost per box (including die-cut insert and interior printing) came in at $2.18 per unit [IE]—well below the $2.50 budget cap [IE] and saving over $4.90 per unit compared to the original rigid box concept [IE].
When the 1,500-unit production run launched [IE], customer unboxing posts highlighted the clean interior reveal and sturdy presentation. Gross margin on the executive desk set locked in at a healthy 68% [IE], demonstrating that simple, well-engineered corrugated packaging can deliver a luxury first impression at a fraction of rigid setup costs.
Key Lessons for Private Label Founders and Buyers
Engineering a memorable first impression does not require overspending on heavy materials or multi-piece boxes. The key takeaway from this case study is that customer unboxing perception is driven by structural fit and interior visual contrast, not board thickness.
Before committing capital to custom packaging tooling, audit your unit economics and fulfillment mechanics. Match your board flute profile (E-flute vs. B-flute) to item weight, mandate a 5mm insert clearance buffer [IR] to ensure pack-line speed, and use single-pass interior printing to create an intentional reveal that reinforces your brand's value from the moment the package arrives.
What Buyers Usually Ask Next
What is the minimum order quantity (MOQ) for custom-printed corrugated mailers?
For custom structural die-cut mailers using digital printing, MOQs typically start between 100 and 250 units [IR]. For high-speed flexographic printing on custom cutting dies, factory MOQs generally start at 1,000 to 2,500 units [IR] to amortize machine setup costs effectively.
How do I prevent custom kraft boxes from scuffing during shipping transit?
Natural kraft brown board resists visible conveyor scuffs better than dark-printed exteriors. If you specify dark exterior printing, require a protective water-based varnish coat from the printer, or ship the primary printed box inside a lightweight 100% recycled poly mailer.
What is the difference between ECT and Mullen burst testing for shipping boxes?
Edge Crush Test (ECT) measures the top-to-bottom compression strength of corrugated board (stacking strength via TAPPI T 811) [DS]. Mullen Burst Test measures the force required to puncture the box wall (impact resistance). For parcel e-commerce shipping, ECT ratings (such as 32 ECT) [IR] are the industry standard for evaluating box quality.
How do carrier dimensional weight (DIM) rules impact box design?
Carriers bill parcel freight based on cubic volume (Length × Width × Height / 139) [DS] if the dimensional weight exceeds actual package weight. Keeping outer box dimensions tight around your products—without excess void space—prevents your shipments from crossing into higher DIM weight pricing tiers.