Should a buyer choose screen printing or embroidery for custom apparel based on fabric weight, artwork detail, budget constraints, and expected garment lifespan?
Week 1: Mapping the Program Budget and Garment Substrates
Every custom apparel program begins with two hard constraints: the total funds approved by your committee or finance lead, and the physical garments your group actually wants to wear. When we look at how buying decisions take shape, teams that lock in their garment selections before choosing a decoration method end up making trade-offs they didn’t plan for. The physical structure of the fabric dictates what decoration techniques it can support without failing.
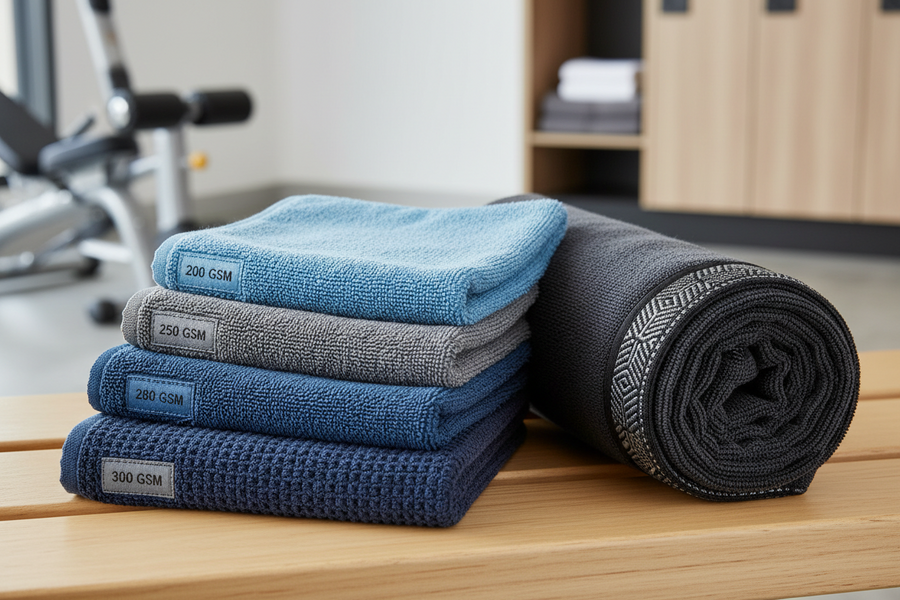
When evaluating fabrics, weight measured in grams per square meter [IR: 130–400 GSM] is the single most reliable indicator of decoration compatibility. Lightweight ringspun cotton tees [IR: 130–160 GSM] offer a soft drape, but they lack the structural density to support a high-density embroidered crest. The mechanical tension of thousands of thread passes pulls the light fibers inward, creating permanent puckering around the edges of the design. Conversely, placing a thin pass of water-based ink onto a heavy 380 GSM brushed fleece hoodie can cause the print to sink into the deep pile, muting the artwork unless an extra underbase pass is applied.
What actually determines whether a garment holds its shape comes down to matching the decoration density to the fabric weight. For lightweight t-shirts, summer event tops, and performance athletic wear, screen printing keeps the fabric flexible and breathable. For structured piqué polos, quarter-zip pullovers, canvas jackets, and heavy fleece, direct embroidery provides a durable, raised texture that matches the substantial feel of the garment. If you are building a mixed-item order—like pairing 100 t-shirts with 20 fleece jackets—preparing two separate decoration approaches early keeps your unit costs under control while protecting garment fit.
One recurring theme is that buying teams who establish hard fabric-weight parameters during Week 1 avoid late-stage re-quotes when artwork moves to the factory floor. Setting aside time to audit garment specs upfront ensures your budget line items reflect real production limits.
Week 2: Evaluating Artwork Complexity Against Thread and Ink Physics
Once your garment styles are selected, the next milestone is auditing your artwork vector files. A common assumption is that any design that looks crisp on an iPad screen can be rendered identically in thread or ink. In practice, production equipment operates under physical limits that require converting digital artwork into either liquid ink deposits or mechanical needle paths.
Screen printing relies on stencil screens—typically mesh counts between 110 and 305 threads per inch [IR: 110–305 mesh]—to deposit plastisol or water-based inks onto fabric. This process easily captures fine vector details, subtle gradients, and thin line weights down to 0.5 pt [IR: min 0.5 pt line thickness]. It is the ideal choice for complex illustrations, large back prints, and designs with fine body text. However, every distinct color in your artwork requires its own film positive and physical screen setup, driving up initial prep costs on multi-color art.
Embroidery handles artwork through digitizing—a process that translates vector lines into specific stitch types (satin, run, or fill stitches) and needle pathways. Because embroidery uses physical polyester or rayon threads [IR: 40-weight thread standard], there is a physical floor to how small detail can go. Text height must stay at or above 4 mm [IR: min 4 mm text height] to remain legible; anything smaller causes needle punctures to overlap, creating unreadable thread clusters. However, because multi-head embroidery machines hold up to 15 thread colors per head [IR: 12–15 needle configurations], color count rarely impacts unit cost the way it does in screen printing.
The difference between a crisp final product and a messy execution comes down to choke adjustments and clearance testing during the design phase. If your logo features tight negative space, thin drop shadows, or fine exterior borders, screen printing is the safer path. If your design consists of bold emblems, clean block typography, or isolated brand marks, embroidery offers a distinct three-dimensional texture that lifts off the fabric surface.
Week 3: Navigating Setup Fees, Stitch Counts, and Color Run Charges
With artwork and garment styles aligned, Week 3 focuses on evaluating supplier quotes. Navigating vendor estimates can feel confusing because screen printing and embroidery use completely different pricing models. A quote that looks expensive at 24 units might become the most cost-effective option at 144 units, and vice versa.
Screen printing pricing relies on a fixed setup cost plus a variable run rate per print location. Setup fees cover color separations, film generation, and burning screens [IE: typical setup runs $20–$35 per screen color]. A four-color front print requires four screens, meaning $80 to $140 in fixed setup costs before a single shirt is printed. At 25 units, that setup fee adds $3.20 to $5.60 to every shirt. At 200 units, that same setup fee dilutes down to $0.40 to $0.70 per shirt. This makes screen printing the clear economic winner for high-volume orders, provided color counts remain reasonable.
Embroidery pricing operates on a setup digitizing fee plus a run rate tied directly to total stitch count. Digitizing converts your logo into a machine-readable format [IE: typical digitizing runs $30–$60 for standard chest logos under 10,000 stitches]. Once digitized, the setup cost is fixed regardless of how many colors are used. The run rate is determined by how many thousands of stitches the design contains [IR: standard pricing scales per 1,000 stitches]. A small 5,000-stitch left-chest logo runs quickly on automated embroidery heads, making it cost-effective even on low-quantity runs [IR: 12–48 units]. However, a massive 50,000-stitch full-back design requires long machine running times, pushing unit costs significantly higher than a comparable screen print.
Something we’ve seen play out more than once: the internal approval process takes longer than the production itself. Having your financial breakdown clear before submitting paperwork for committee or admin approval keeps your timeline on track and prevents rush fees later in the schedule.
Week 4: Managing Sample Proofs, Digitizing Files, and Pre-Production Holds
By Week 4, your order moves into pre-production proofing. This is where physical realities meet digital expectations, and it is the last checkpoint to catch alignment, sizing, and color errors before bulk equipment runs.
For screen printing, proofing usually arrives as a digital mock-up showing graphic placement, dimensions, and specified Pantone matching system codes [DS: Pantone Matching System / PMS color standards]. Pay close attention to print dimensions relative to garment size scale. A 12-inch wide print looks balanced on a Large tee but can spill over the side seams on a Small or look undersized on a 2XL. If your order spans a wide size range, ask your supplier if the artwork will be printed using one universal screen size or split across two screen sets.
For embroidery, proofing includes a digital sew-out or an actual physical thread swatch stitched onto a piece of backing fabric. Inspect this proof carefully for stitch density, pull compensation, and thread tension. High-quality digitizing ensures satin stitches lay flat without gaps, text corners remain sharp, and fill stitches do not pull the fabric into waves. If you notice puckering around the edges of the sew-out, request a density reduction or an upgrade to a heavier stabilizer backing before approving bulk production.
What’s easy to overlook is how much a single design revision late in the process can push back the whole timeline. A simple tweak to artwork dimensions or thread color during Week 4 resets digitizing or screen-burning steps, pushing back bulk production slots by three to five business days. Reviewing proofs promptly keeps your delivery date secure.
Week 5–6: Bulk Production, Curing, and On-Site Receiving Audits
Once pre-production proofs are signed off, your order enters bulk manufacturing. During this phase, automated equipment executes your decoration run, followed by curing, finishing, and quality control inspections.
In screen printing, automated carousel presses deposit ink layers onto garments mounted on platen boards. After printing, garments pass through a conveyor dryer where plastisol inks reach their full curing threshold [IR: plastisol cures at 160°C / 320°F]. Proper heat exposure is critical; under-cured ink will crack and peel after the first wash cycle, while over-cured ink can cause lightweight fabrics to scorch. High-quality shops conduct regular wash-fastness testing [DS: ISO 105-C06 wash fastness standards] to ensure ink film cross-linking meets commercial standards.
In embroidery production, garments are manually hooped in tension frames and loaded into multi-head machine bays. Automated needles drive thread through the fabric according to the digitized file path. Once stitching completes, operators manually trim jump threads, tear away backing stabilizers, and press the decorated panels to remove hoop burn rings left by frame compression.
When your order arrives on-site, perform a quick receiving audit before distributing items to your team or members. Check the following key checkpoints:
- Print & Stitch Placement: Verify that graphic centers align consistently relative to the collar or placket line across mixed sizes [IR: placement tolerance ±1.5 cm].
- Ink Cure & Stretch Recovery: Gently pull screen-printed areas laterally; cured ink should flex and snap back without micro-cracking.
- Embroidery Backing & Cleanliness: Inspect the interior of embroidered panels to ensure backing material is trimmed neatly and no loose thread loops remain.
- Garment Count & Size Breakdown: Audit carton packing slips against your initial purchase order before signing carrier delivery receipts.
A quiet but consistent pattern: the vendors who answer questions slowly during quoting tend to communicate slowly during production too. Establishing clear quality expectations upfront guarantees your final apparel distribution goes smoothly.
What Buyers Usually Ask Next
How do I know if my logo needs to be simplified for embroidery?
If your logo contains small text below 4 mm in height, fine gradient shifts, or narrow overlapping lines, it will need simplification for direct embroidery. Thread has a fixed physical thickness, meaning tiny details get filled in during stitching. Suppliers can reformat complex logos by converting gradients into solid color blocks and enlarging text elements so needle passes stay clean and legible on physical sew-outs.
Is water-based screen printing better than traditional plastisol printing?
Water-based screen printing absorbs directly into fabric fibers, leaving a soft, breathable print feel that is ideal for lightweight cotton tees. Traditional plastisol ink sits on top of the fabric, creating a opaque, durable ink layer that works well on dark fabrics and synthetic blends. Choose water-based ink when comfort and soft hand feel are paramount, and plastisol when vibrant, exact color matching is required on dark garments.
What happens if our garment sizes range from Extra Small to 3XL?
On orders spanning wide size ranges, standard practice is to size the artwork so it fits the smallest garment in the run. However, if a large back print scaled for an Extra Small looks lost on a 3XL hoodie, you can request two separate screen or file setups: one scaled for small sizes and one for large sizes. Note that splitting artwork across two setups incurs additional screen or digitizing fees, so balance visual proportion against setup budget limits.