How to Choose the Right Product for Your Logo Style?
‘Just get the cheaper one’ is easy to say until the cheaper one shows up two weeks late, and the logo is already cracking after a single wear.
A college club treasurer with a $500 budget and a detailed logo needs to make a choice. The decision—which product to order—will determine whether the logo looks sharp or fuzzy, professional or amateur.
This timeline guide walks through the decisions made at each stage of the selection process, from diagnosis to delivery.
Week 1: Logo Diagnosis and Product Shortlist
The first step is to assess the logo itself. What makes this logo work? Is it detailed, with fine lines and small text? Or is it bold and simple, with solid shapes and few colors?
We worked with a college club treasurer who had a detailed vector logo—a crest with text and multiple small elements. He wanted a custom product for an event. The logo looked great on his laptop. But he hadn't considered how it would translate onto a fabric substrate.
The real driver here is not the product itself—it's the alignment between the product's characteristics and the logo's visual requirements. A detailed logo on a rough surface will lose clarity. A bold logo on a smooth surface will look clean and sharp. The surface texture is the deciding factor.
One thing that becomes clear after a few cycles is that consistency matters more than any single spec on paper. A product that consistently delivers the logo's clarity is more valuable than a product that looks good once but fails on the second run.
Week 2: Matching the Product to the Logo's Detail Level
The product's surface determines how well the logo prints. A smooth substrate holds fine detail. A textured substrate will make fine lines bleed and small text illegible.
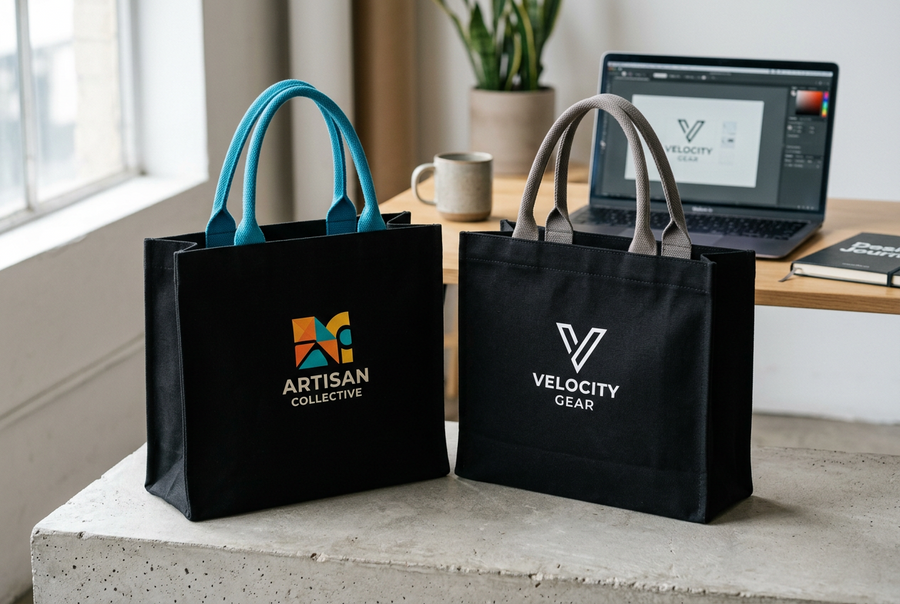
For a detailed logo (fine lines, small text, multiple colors): Choose a smooth substrate: 100% cotton t-shirts, smooth canvas tote bags, or polyester apparel. These surfaces hold ink without bleeding and allow for fine detail. DTF (direct-to-film) or digital transfer is the best decoration method for full-color, detailed logos because it has no per-color setup fee and reproduces detail accurately.
For a bold, simple logo (solid shapes, 1-2 colors): Choose a textured substrate: fleece hoodies, non-woven PP tote bags, or pique polos. The texture hides the limitations of the print. Screen printing is the standard method for bold logos. It is durable, cost-effective, and works well on textured surfaces.
A common outcome when this gets skipped: a club orders custom non-woven PP tote bags with a detailed crest logo. The ink bleeds, the fine lines are lost, and the text is illegible. The logo looks amateur. The club wasted its budget. The solution is to simplify the logo for the substrate or choose a substrate that can handle the detail.
Week 3: Decoration Method and Material Selection
Once the product is chosen, the decoration method must be selected. The method must be compatible with the substrate and the logo's style.
Screen printing is the standard for apparel and fabric products. It works on smooth and textured surfaces. The setup cost is per color. A detailed logo with four colors will have a higher setup cost than a one-color logo. The per-unit cost drops with volume. Screen printing is best for simple to moderately detailed logos with 1-4 solid colors.
DTF (direct-to-film) printing has no per-color setup cost. It can reproduce detailed, full-color designs accurately. The per-unit cost is higher than screen printing, but the total cost for a small run can be lower because there is no setup fee. DTF works best on smooth, flat surfaces like cotton t-shirts and canvas totes. It is ideal for detailed logos.
Embroidery is the most durable method. It works on a variety of fabrics. The setup cost is a digitizing fee. The per-unit cost is based on stitch count. A detailed logo with small text will be expensive and may not be legible. Embroidery is best for bold, simple logos on premium apparel.
Pad printing and laser engraving are used for hard goods like mugs and metal items. These methods are limited in detail. A logo must be simplified and sized appropriately for the surface area.
A trade show booth crew prepping for a three-day expo might choose a simple, bold logo on a non-woven PP tote bag with screen printing. The booth crew needs a cost-effective, high-volume product that can be distributed quickly. The logo is bold and visible from a distance. The method and product match the use case.
- Screen Printing: Durable, cost-effective for bulk, works on many surfaces.
- DTF: Full-color, detailed, no per-color setup fee.
- Embroidery: Premium look, durable, textured.
- Screen Printing: Setup cost per color, limited to solid colors.
- DTF: Higher per-unit cost, not as durable as screen printing.
- Embroidery: Higher cost, limited detail.
Week 4: Sample Approval and Bulk Order
The final step is the sample. A sample on the actual product substrate is the only reliable proof of the logo's appearance. A digital proof tells you about layout; a physical sample tells you about ink adhesion, registration, and clarity.
Order a sample before committing to bulk. Test the logo on the product. Check for ink bleed, registration, and color accuracy. If the sample is acceptable, approve it. If not, adjust the design or choose a different product or method.
The difference between a logo that looks premium and one that looks amateur is often the substrate and method match. A detailed logo on a rough surface will always look less refined. A simple logo on a premium surface will look intentional. The sample is the moment of truth.
In our experience, the first sample rarely tells you everything — it's the second round that reveals what the factory actually controls. If the sample is perfect, the bulk run will likely be consistent. If the sample is off, the bulk run will be worse. Use the sample to refine the design or the product choice.
The Decision Framework: Budget, Detail, and Use
The decision framework should be anchored in three factors: budget, logo detail, and intended use.
Budget. A detailed logo on a premium product will cost more. A bold logo on a budget product will cost less. The budget determines the range of options.
Logo detail. A detailed logo requires a smooth substrate and a high-fidelity print method. A bold logo works on a wide range of surfaces.
Intended use. A product that is used daily (like a tote bag) needs a durable decoration method. A product that is used once (like a giveaway) can use a less durable method.
One recurring theme is that buyers who ask about defect-handling policy upfront have far fewer surprises later. A supplier that can't match the logo's detail to the product's capability is a risk. Ask the supplier about their process and their success with similar logo styles.
What Buyers Usually Ask Next
What is the most important factor in matching a product to a logo style? The surface texture of the product is the most important factor. A smooth surface like cotton canvas holds fine detail well. A rough surface like non-woven PP will bleed ink and lose detail. Match the logo's complexity to the product's surface.
What is the best product for a detailed, full-color logo? A product with a smooth, flat surface, like a 100% cotton t-shirt or a canvas tote bag, is best. DTF (direct-to-film) printing can reproduce detailed, full-color designs accurately on these surfaces. The smooth substrate prevents the ink from bleeding or distorting.
What is the best product for a simple, bold logo? A product with a textured surface, like a fleece hoodie or a non-woven PP tote bag, can work well with simple, bold logos. Screen printing with a single color is effective on these surfaces. The bold lines won't be lost in the texture.
How do I ensure the logo looks good on a curved surface like a mug? The logo must be reduced in size and simplified. Fine text and detailed lines will be lost on a curve. A bold, simple logo with high contrast is the most effective. Request a sample to verify the logo's readability on the curved surface.